How To Setup Roku Streaming Stick 4K – Step By Step Beginners Guide

Short Answer
- Connect the Device: Plug the USB power cable into the Roku Streaming Stick. Use a USB port on your TV or the provided wall adapter for power.
- Insert into HDMI Port: Connect the stick to an available HDMI port on your TV. Note the port number for later.
- Select Input Source: Use your TV remote to select the correct HDMI input.
- Pair the Remote: Pull the battery tab on the Roku remote to pair it automatically.
- Connect to Wi-Fi: Choose your network, enter the password, and connect to the internet.
- Update and Activate: Update the device, then activate it using a Roku account via the email link.
- Customize: Add channels and adjust settings to personalize your streaming experience.
Welcome to this step-by-step guide on How To Setup Roku Streaming Stick 4K or Roku Streaming Stick! Whether you’re a first-time user or upgrading to a newer Roku device, this video will walk you through every detail, from connecting your streaming player to personalizing your home screen.
By the end of this guide, you’ll be ready to enjoy seamless streaming with your Roku device. Let’s dive in!
How To Setup Roku Streaming Stick 4K
Learn the steps to complete the setup process of your Roku by using the instructions given in this article.
1: Connecting Your Streaming Player
The first step is to connect your streaming player. We will plug the USB power cable into your streaming player and keep it coiled in the Velcro wrap so that the cords don’t get caught on anything else.
If your TV doesn’t have a USB power port on the back, we can plug it into a wall using the provided USB power adapter.
2: Plugging in the Roku Stick
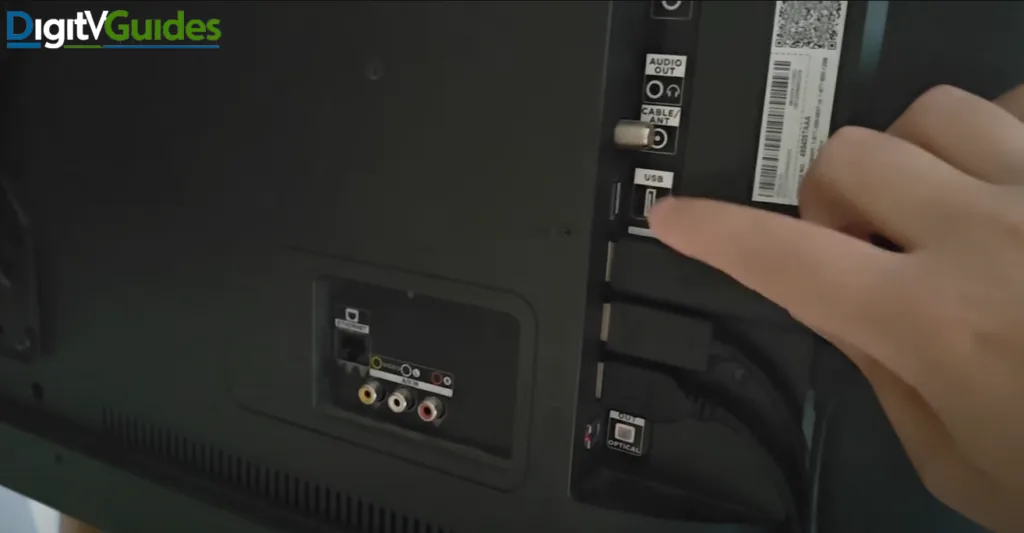
Now, my TV has a USB option on the back, so that’s what I will be using. But if you don’t have that USB port on the back of your TV, then we can plug it in using this power adapter. Unwinding a bit of our cord here, we will plug it into our Roku Streaming Stick. The USB type B, the micro USB, will go into the Roku Streaming Stick, and I’ll show you the other end on the back of my TV, where I will plug that in.
3: Selecting the HDMI Port
When I reach the back of my TV, I see I have a USB option. Then, I must select which HDMI port to plug the Roku Stick into. I will move some of these plugs around to have HDMI 1 available for the Roku Streaming Stick. Ensure you note which HDMI port you’re plugging your Roku Streaming Stick into so you know which input to use to set your TV.
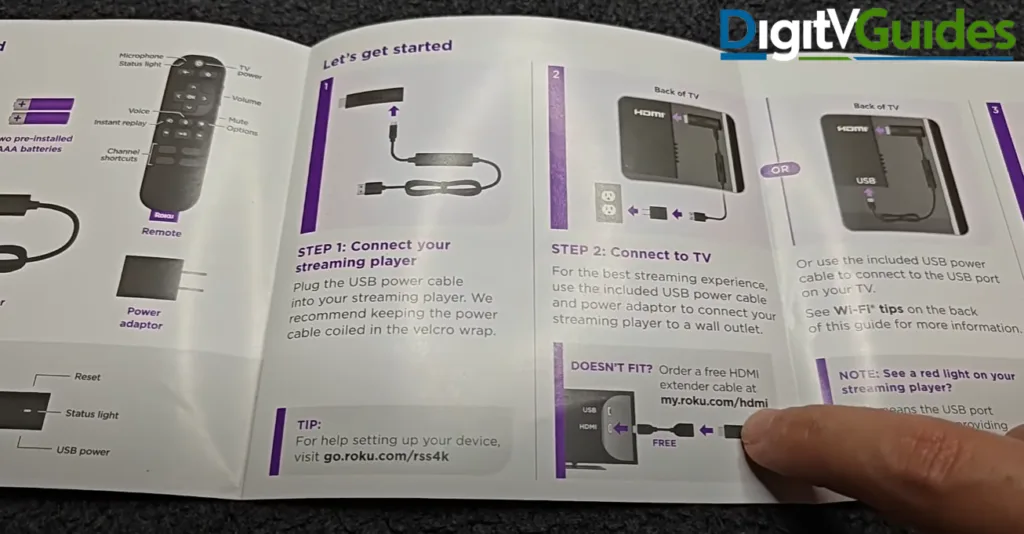
4: Using the HDMI Extender (Optional)
If you’re having trouble getting your Roku Streaming Stick to fit into the HDMI port on your TV, you can actually get a free HDMI extender from Roku. Just go to Roku and order one at that web address.
5: Selecting the Input on Your TV
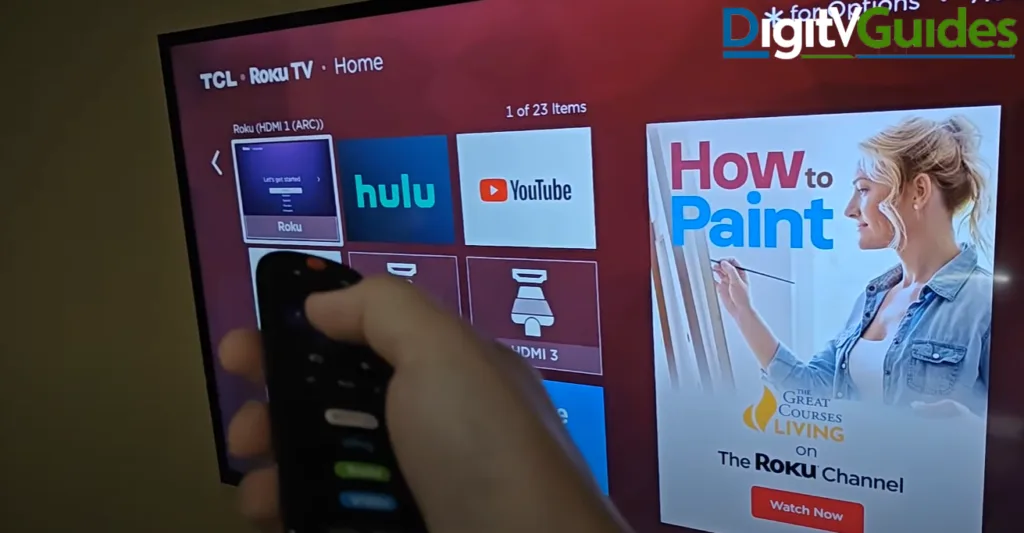
Now that we’re connected to the TV use your TV remote to power it on and select the input source to connect your streaming player. For me, it’s HDMI 1, so that’s the input I’m going to.
6: Pairing the Roku Remote
The next step is pairing the Roku remote. Pull out the battery tab on the back of your remote, and it will pair your streaming player automatically.
7: Selecting Your Language and Wi-Fi Network
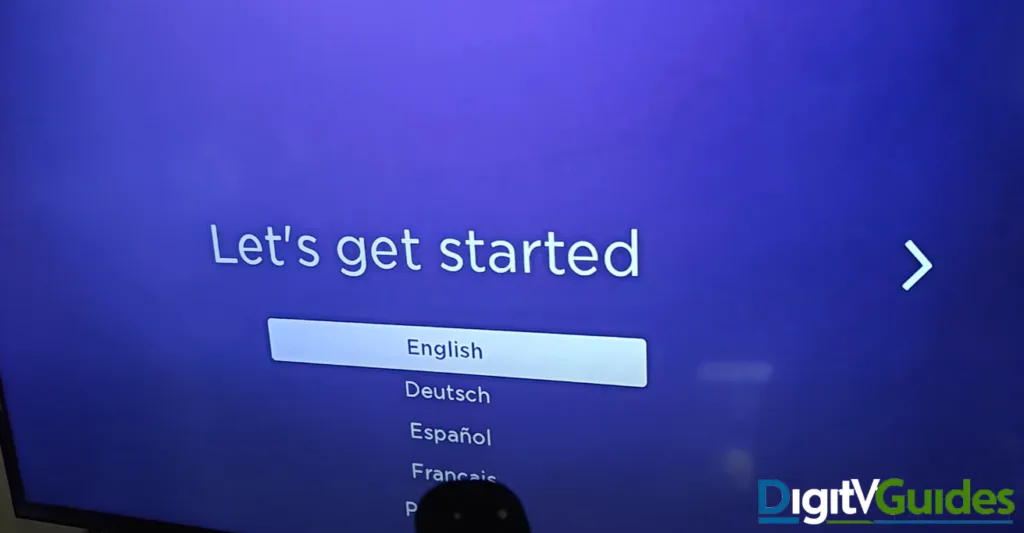
Once the remote is paired, the next step is selecting your language. After that, scan for wireless networks, find your Wi-Fi network, and enter the password.
8: Updating Your Roku Device
After connecting to Wi-Fi, your Roku device will check for updates. Let it update to the latest software version before continuing.
9: Activating Your Roku Player
You must activate your Roku player by signing in or creating an account. Enter your email address, check your inbox for the activation email, and follow the instructions.
10: Adding Channels and Personalizing Your Setup
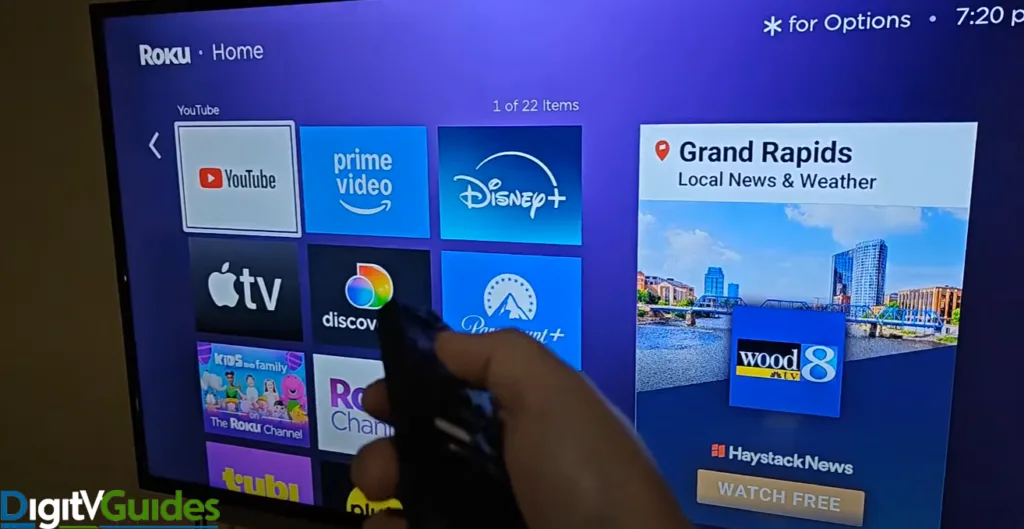
You can personalize your channels and offers or skip this step. You can add apps to your homepage or move them around by clicking the asterisk button on your Roku remote.
Final Adjustments and Customizations
You can customize your homepage further by hiding the recommendations row or resizing tiles for more visibility.
Also Read:
FAQs
How do I pair the Roku remote with the device?
Pull the battery tab on the back of the Roku remote, and it will pair automatically with your device.
What if my Roku Streaming Stick doesn’t fit into the HDMI port?
You can request a free HDMI extender from Roku at my.roku.com/HDMI.
Do I need a Roku account to activate the device?
Yes, activation requires a Roku account. Sign in or create one during setup by entering your email address.
Can I add apps to my Roku device?
Yes, use the search feature to find and install apps. You can organize them on your home screen as well.
Conclusion
That brings us to the end of this video on the step-by-step process of Setup Roku Streaming Stick 4K or Roku Streaming Stick. I appreciate you stopping by. Consider subscribing to the Newsletter, and I’ll see you next time!


One Comment